Ever wondered why grandmothers’ soups always tasted so magical? The secret might just be hidden in the art of making homemade bone broth. What if a simple cooking technique could transform ordinary ingredients into a nutrient-packed elixir that supports your entire body?
Learning how to make bone broth isn’t just a culinary skill—it’s a journey into traditional nutrition that has sustained generations. This easy bone broth tutorial will unveil the secrets to creating a rich, flavorful broth that’s both delicious and incredibly beneficial for your health.
Bone broth is more than just a trendy health drink. It’s a time-honored method of extracting maximum nutrition from animal bones, transforming what many would consider waste into a powerful healing food. The benefits of bone broth extend far beyond simple sustenance, providing a concentrated source of minerals, proteins, and healing compounds.
Key Takeaways
- Bone broth is a nutrient-dense liquid made by simmering animal bones
- Homemade bone broth offers superior nutrition compared to store-bought versions
- The process is simple but requires patience and quality ingredients
- Bone broth supports digestive health, joint function, and immune system
- Different bones create unique flavor profiles and nutritional benefits
Understanding Bone Broth
Bone broth is a big deal in health food today. It’s more than just a cooking ingredient. It’s full of collagen and nutrients that help heal.
What Exactly is Bone Broth?
Bone broth is made by cooking animal bones for a long time. It turns simple ingredients into a rich, healthy liquid. People use bones from chicken, beef, and more to make it.
Nutritional Benefits of Bone Broth
Bone broth is good for your health in many ways. Here are some of its benefits:
- Supports joint health by protecting tendons and ligaments
- Enhances gut health through natural healing properties
- Boosts immune system functionality
- Provides essential electrolytes like calcium and magnesium
| Nutrient | Amount per Cup |
|---|---|
| Calories | 50 |
| Protein | 9g |
| Potassium | 280mg |
| Sodium | 450mg |
The glycine in collagen helps reduce stress and improve sleep. It might even help with inflammatory diseases like ulcerative colitis.
For the best results, pick bone broth that’s cooked for 24+ hours. It should gel when chilled. Always talk to a doctor if you have special diet needs.
Choosing the Right Bones
Starting a nutrient-rich bone broth needs the right bones. Each bone type brings its own taste and health benefits. This makes your bone soup both tasty and good for you.
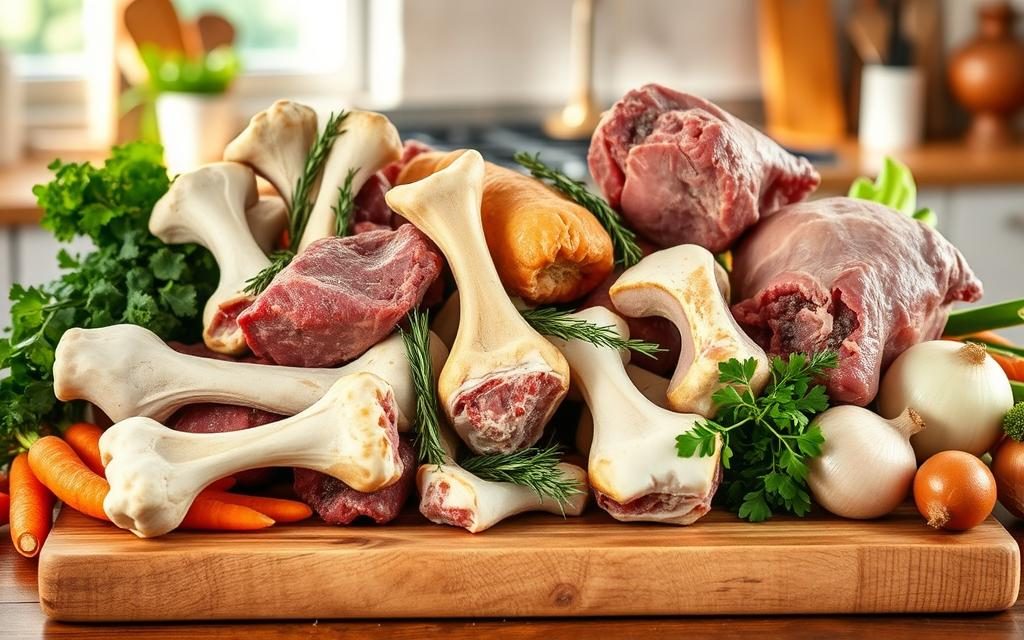
Types of Bones for Optimal Bone Broth
Choosing the right bones is key for a tasty and healthy bone broth. Here are the best bones to pick:
- Beef bone broth benefits from a mix of marrow and knuckle bones
- Chicken bone broth works best with feet, wings, and necks
- Oxtail provides exceptional collagen and deep flavor
- Shank bones deliver a hearty, nutrient-dense broth

Sourcing Quality Bones
The bones you choose greatly affect your bone broth’s taste and health. Grass-fed and organic bones are the best for a top-notch broth.
| Bone Source | Quality Indicators | Recommended For |
|---|---|---|
| Local Butchers | Fresh, often grass-fed | Best flavor and nutrition |
| Farmers Markets | Organic, pasture-raised | High-quality, nutrient-dense bones |
| Online Suppliers | Direct from farm | Convenience and traceability |
Pro tip: Keep bones in the freezer until you’re ready. A long, slow simmer gets out the most nutrients. This makes a broth full of gelatin that’s good for your health.
Essential Ingredients for Flavor
Making tasty homemade broth is more than just bones. The right mix of veggies, herbs, and spices makes a big difference. Let’s look at the key ingredients that make your broth special.
Vegetables and Aromatics that Boost Flavor
Start with a good vegetable base for your bone broth. Classic aromatics add depth and complexity:
- Onions (yellow or white) for sweet undertones
- Carrots to add natural sweetness
- Celery for subtle herbaceous notes
- Garlic for robust flavor
- Fresh ginger for warmth and complexity
Herbs and Spices: The Flavor Enhancers
The right herbs and spices can make your broth amazing. Fresh herbs give brighter flavors than dried ones:
- Parsley for freshness
- Rosemary for earthy depth
- Thyme for subtle complexity
- Bay leaves for rich undertones
Spices add great depth to your bone broth:
- Turmeric for anti-inflammatory benefits
- Black pepper to enhance mineral absorption
- Cinnamon for warm, subtle sweetness
Pro tip: Add apple cider vinegar to get more minerals from bones. Use sea salt or pink Himalayan salt to boost flavors without overpowering them.
The Best Cooking Methods
Creating the perfect slow cooker bone broth needs the right cooking techniques. Each method brings its own benefits for getting rich flavors and nutrients from bones. Whether you cook at home or love to try new recipes, picking the best method can make your broth guide better.
Stovetop Bone Broth Method
The stovetop method lets you control the simmering of your bone broth. It takes 4-6 hours to cook, making about 6 cups of broth. Chefs like it for the chance to make complex flavors by watching it closely.
- Cooking time: 4-6 hours
- Yield: 6 cups
- Flavor profile: Moderate complexity
Slow Cooker Bone Broth Technique
Slow cookers make broths with deep flavors with little effort. It cooks for 24-48 hours, making 10 cups of broth. The long cooking time helps get all the nutrients.
| Characteristic | Slow Cooker Details |
|---|---|
| Cooking Duration | 24-48 hours |
| Broth Yield | 10 cups |
| Flavor Intensity | Complex, Beefiest |
Instant Pot Bone Broth Method
The Instant Pot makes bone broth fast. In just 2.5 hours, you get 10 cups of broth. It’s great for those who are short on time.
- Pressure cooking time: 2.5 hours
- Yield: 10 cups
- Flavor: Good, mild complexity
Pro tip: Pick your cooking method based on how much time you have and how intense you want the flavor. Each way has its own benefits for making tasty, healthy bone broth.
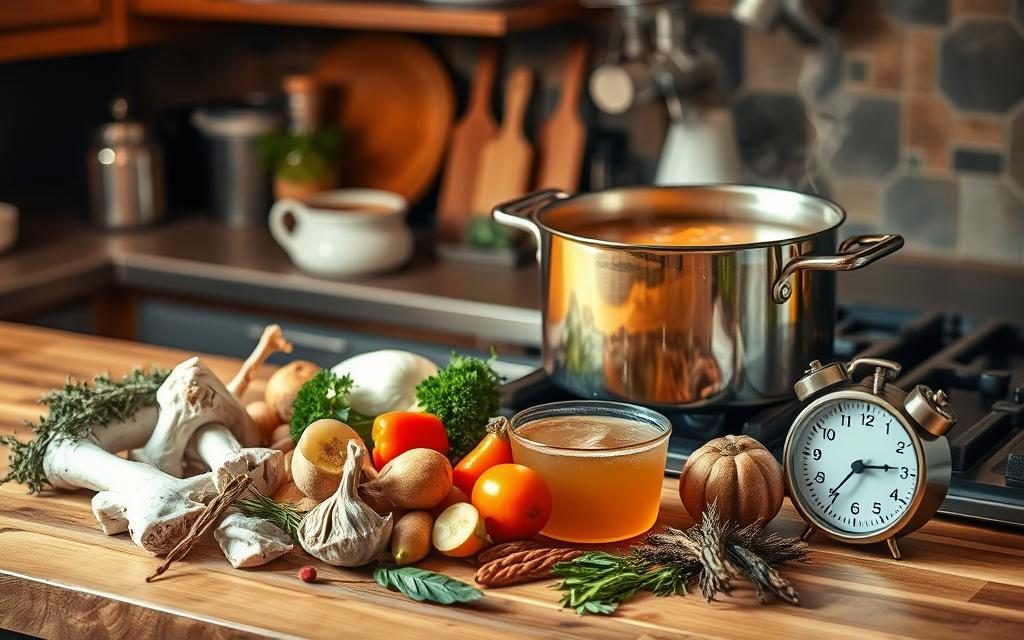
Cooking Time for Maximum Flavor
Making a rich broth takes patience and care. The cooking time is key to its flavor and health benefits.

Knowing the right cooking time is important. It helps get the most nutrients from your bones. Different bones need different times to make a great broth.
Recommended Cooking Durations
- Beef Bones: 24-48 hours on low heat
- Chicken Bones: 12-24 hours
- Instant Pot/Pressure Cooker:
- Beef Bones: 3-4 hours
- Chicken Bones: 1-2 hours
Preventing Overcooking
It’s important to watch your broth closely. This stops nutrients from getting lost and keeps the flavor good. Look out for these signs:
| Cooking Stage | Signs to Watch |
|---|---|
| Early Stage | Bones stay strong, broth starts to taste good |
| Optimal Stage | Bones get soft, broth looks rich |
| Overcooking Stage | Bones start to fall apart, broth loses its taste |
Experts say to keep the heat steady at 180-185 degrees Fahrenheit. A well-cooked broth will gel when cooled. This means the collagen was extracted well.
To keep it safe, cool the broth fast. Use an ice bath or add frozen water bottles. This stops bad bacteria and keeps the broth healthy.
Straining Your Bone Broth
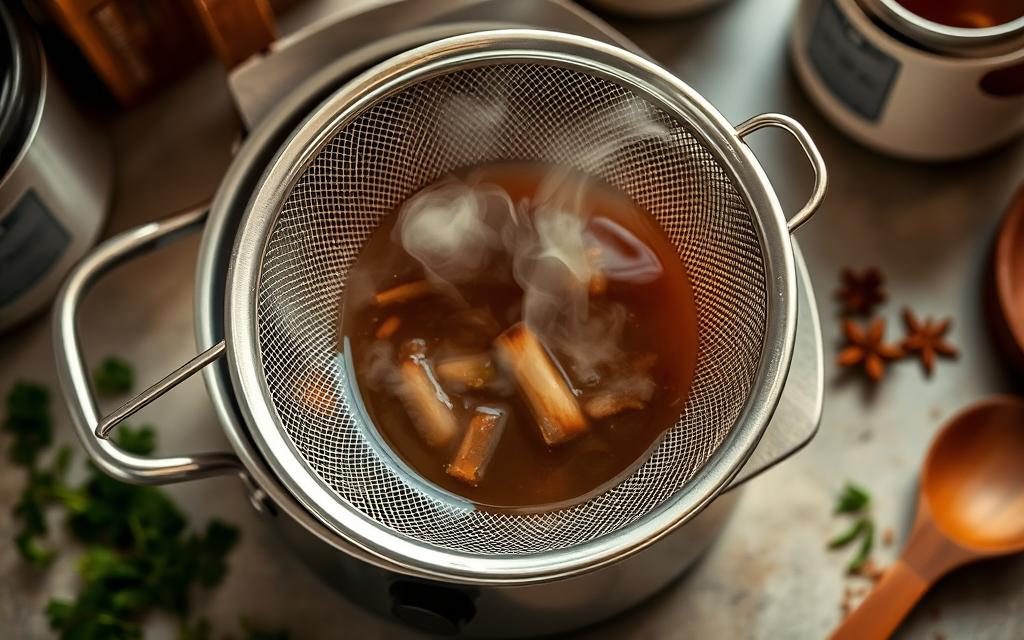
To make a clear homemade broth, you need to strain it well. This step makes your broth look and taste great. It’s all about getting rid of solids and making it clear.

Essential Straining Tools
Choosing the right tools is key for straining your bone broth. Chefs and home cooks agree on a few top methods:
- Fine-mesh sieve
- Cheesecloth
- Nut milk bag
- Coffee filter
Tips for a Crystal-Clear Broth
To get a clear broth, you need more than just straining. Here are some tips to help:
- Don’t stir while it cooks
- Remove foam from the top often
- Cool it fast in an ice bath
- Strain in small amounts to avoid spills
| Straining Method | Clarity Level | Recommended Use |
|---|---|---|
| Fine-mesh sieve | Medium | Quick straining |
| Cheesecloth | High | Professional results |
| Nut milk bag | Excellent | Ultra-clear broth |
Follow these tips to make your broth look and taste like it’s from a restaurant. It will be clear and full of nutrients.
Storing and Freezing Bone Broth
Keeping your homemade bone broth fresh is key. You can store it for months. Freezing broth is a great way to keep it good.
Best Storage Practices
You have many ways to store broth:
- Refrigerator storage: Keep bone broth in airtight containers for up to 5 days
- Freezer storage: Preserve for up to 6 months
- Container choices: Use freezer-safe glass jars or silicone molds
How to Freeze and Thaw
Freezing broth needs some planning. Leave space in containers for freezing. This stops them from cracking.
| Freezing Method | Recommended Portion | Thawing Time |
|---|---|---|
| Ice Cube Trays | 1-2 oz portions | 30-60 minutes |
| Mason Jars | 1-2 cups | Overnight in refrigerator |
| Freezer Bags | 2-4 cups | Microwave defrost setting |
Pro tip: Use thawed broth in 3-4 days for best taste. Try new bone broth ideas in your cooking.
Delicious Ways to Use Bone Broth
Bone broth is more than just a drink. It’s a key ingredient in many recipes. It adds collagen and minerals to soups and stews, making meals better.
Use bone broth instead of water when cooking grains or mashed potatoes. It makes a great snack, warm and full of protein. Adding herbs or lemon can make it even tastier. Blending it into smoothies adds protein.
Bone broth is great for cooking meats and making sauces. It’s also good for cooking grains. Adding it to your diet can boost your health and help your gut.
Recipes Using Bone Broth
Try new recipes with bone broth for fun. It makes vegetable soups and risottos better. Playing with spices and cooking methods can make it even more special.
Incorporating Bone Broth into Your Diet
Start small with bone broth to get used to it. You can drink it warm, use it in cooking, or mix it into smoothies. It’s a tasty way to get more nutrients in your diet.


