Ever wondered how a simple sheet of paper can turn into a flying machine? Making paper airplanes is more than a kid’s game. It’s a way to learn about science, be creative, and have fun.
Learning to make a paper airplane is fun and educational. It’s great for kids and adults who love nostalgia. This easy guide will show you how to make a flying wonder in just a few steps.
Paper airplanes have been loved for many years. They mix engineering with imagination. By learning how to make them, you can explore the sky with your own hands.
Key Takeaways
- Paper airplanes are a fun and educational activity for all ages
- Basic folding techniques can create impressive flying designs
- Practice improves precision and flight performance
- Understanding paper airplane mechanics develops spatial skills
- Creativity plays a critical role in designing unique planes
Introduction to Paper Airplanes
Paper airplanes mix art, science, and fun. They turn simple paper into amazing flying objects. People of all ages love making and flying them.
Making a paper airplane is more than fun. It teaches about aerodynamics and design. It’s a great way to learn and have fun at the same time.
- Develops fine motor skills
- Teaches basic physics concepts
- Encourages creative problem-solving
- Provides an accessible entry point to aviation engineering
The Joy of Folding Paper
Crafting paper airplanes opens a world of creativity. It needs precision, patience, and imagination. Even the Wright brothers and Jack Northrop used them to test flying ideas.
| Paper Airplane Type | Complexity | Flight Characteristics |
|---|---|---|
| Basic Dart | 5 Simple Folds | Quick, Direct Flight |
| Stable Design | 7 Folds | Smooth, Controlled Flight |
Why Make a Paper Airplane?
Paper airplanes are more than a craft. They help us understand how things fly. Each fold teaches us something new. They’re fun for everyone, no matter their age.
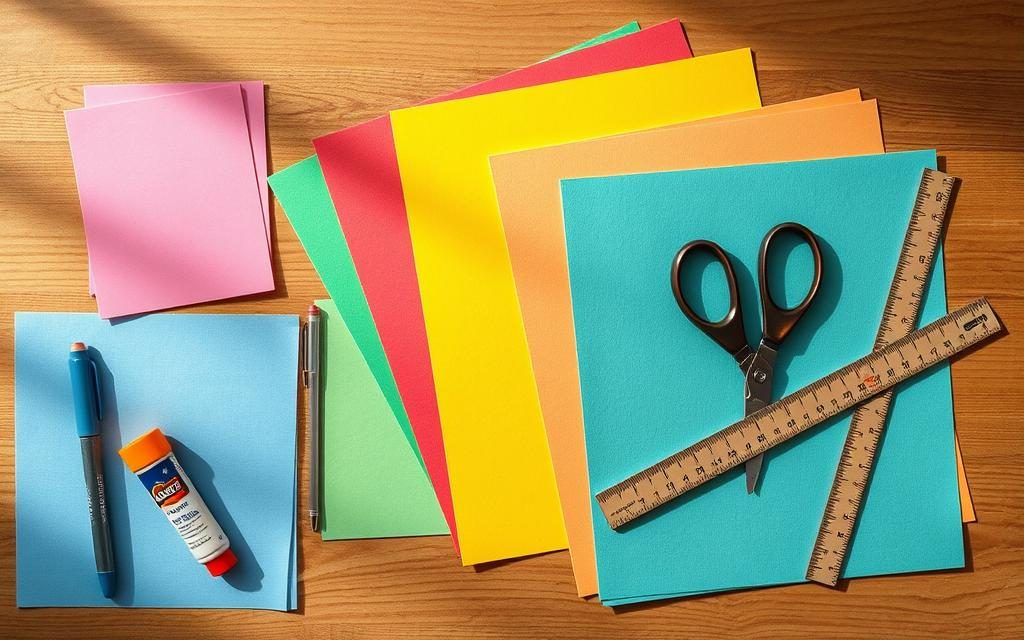
Materials Needed for Your Paper Airplane
Making a great paper airplane starts with the right stuff. You need to pick your supplies carefully. Knowing what works best for flying is key.

- Paper: Standard letter-size (8.5 x 11 inches) printer paper works best
- Flat surface for folding
- Clean hands to create crisp creases
Choosing the Right Paper
The paper you pick can really change how your airplane flies. Printer paper is great because it:
- Has a consistent weight
- Is easy to fold
- Is light
Optional Supplies for Customization
These extra things can make your paper airplane even better:
- Scissors for precise trimming
- Colored paper for creative designs
- Decorative stickers or markers
Professional origamist Coco Sato says printer paper is best. It holds creases well and is light. With the right stuff, your paper airplanes can fly up to 46.1 feet and stay in the air for 2.2 seconds!
| Paper Type | Flight Performance |
|---|---|
| Printer Paper | Best for Beginners |
| Construction Paper | Colorful but Heavier |
| Thin Origami Paper | Advanced Designs |
Step 1: Preparing Your Paper
Starting a paper airplane is all about the right paper. You need to pick and prepare it well. This is the first step in making a great paper airplane.
Selecting the Right Size
Experts say two sizes are best for flying:
- Standard letter size: 8½ × 11 inches (21.5 × 28 cm)
- A4 paper: 8¼ × 11¾ inches (21 × 29.7 cm)
These sizes help make a balanced airplane. Printer paper is best because it’s light and bends well.
Ensuring Straight Edges
Being precise is important. Here’s how to get your paper ready:
- Make sure all edges are sharp and clean
- Get rid of any creases or wrinkles
- Check that corners are perfect right angles
- Smooth the paper on a flat surface
A straight paper means your airplane will fly better. Take your time here. It’s the start of a great airplane.
Step 2: The First Fold
The first fold is key to making a great paper airplane. It’s the start of your flying adventure. Follow these steps to make a solid base.

Start with A4 size paper for the best results. Being precise and careful is important.
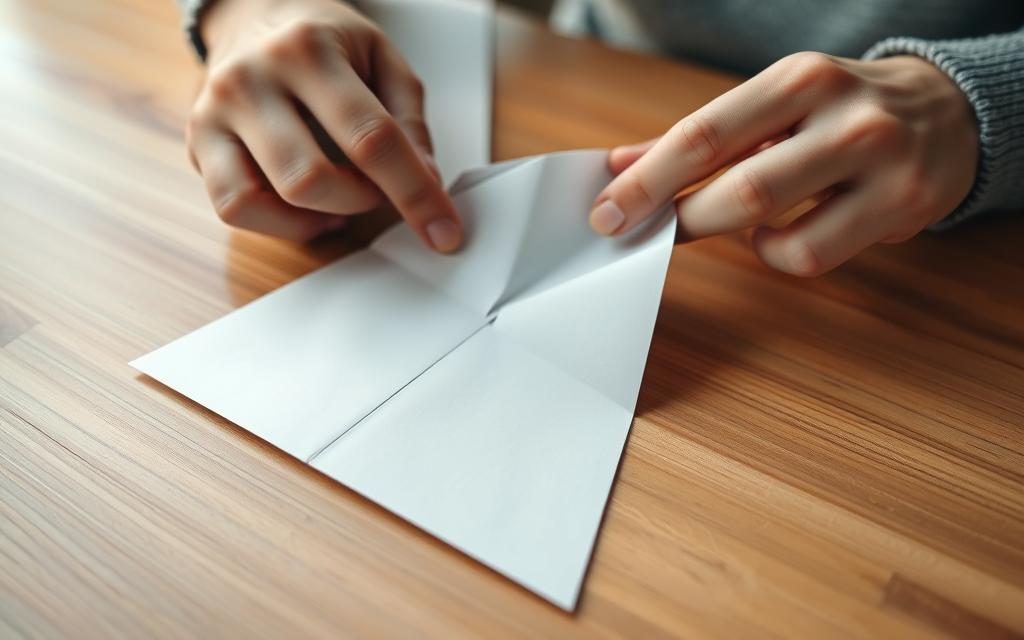
Folding the Paper in Half
Here’s how to fold the paper correctly:
- Put your paper on a flat surface
- Make sure the edges are straight
- Fold the paper in half horizontally
- Use your fingernail or a ruler for a sharp crease
Tips for a Precise Fold
Getting the first fold right is important. Here are some tips:
- Work on a hard, flat surface
- Press the crease hard for a clean line
- Make sure both sides are even
- Unfold and smooth out any wrinkles
The first fold makes the centerline of your airplane. It’s important for balanced flight. A good fold means your airplane will fly well.
Learning to make a paper airplane takes patience. Take your time with each fold. You’ll get a plane that flies smoothly.
Step 3: Creating the Wings
Making the wings is key in your DIY paper airplane journey. The wing design is what makes your plane fly well. It turns a simple paper into a flying wonder.

When you follow a step-by-step guide, making wings is all about precision. We’ll show you how to fold wings for great stability and flight.
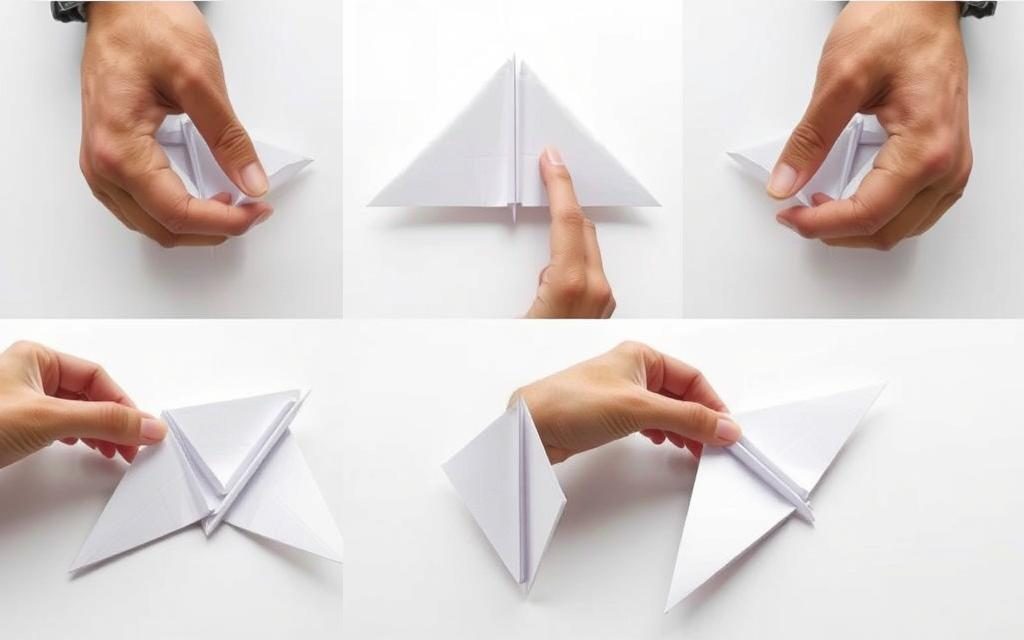
Folding the Top Corners Inward
To make strong wings for your DIY plane, do these steps:
- Put your paper on a flat surface
- Find the center crease from before
- Fold the top corners to the center line
- Make sure both sides look the same
Adjusting Wing Width for Stability
Wing width is key for your plane’s flight. Different designs have their own benefits:
- The Dart: Narrow wings for speed and distance
- The Glider: Wider wings for longer flights
- The Boomerang: Asymmetrical wings for coming back
Try different wing angles and widths. Each change can change how your plane flies.
Step 4: Finalizing the Design
Making paper airplanes is like art. You need to pay attention to details and be creative. As you get close to finishing, focus on the wings and add special touches.
The best designs need careful work and small changes. Let’s see how to finish your airplane with care and flair.
Making Wing Flaps
Wing flaps help your airplane fly better. Here’s how to make them:
- Fold the wing edges slightly upward
- Create small creases at the wing tips
- Adjust wing angles for better stability
Adding Personal Touches
Make your airplane special with these ideas:
- Add colorful decorations
- Create unique wing designs
- Experiment with different folding techniques
| Customization Option | Impact on Flight |
|---|---|
| Wing Angle Adjustment | Improves stability |
| Tail Modifications | Enhances directional control |
| Weight Balance | Increases flight distance |
Pro Tip: Small changes can make a big difference. Take your time to try new things and find the best design for you.
Step 5: Ready for Takeoff!
After following the paper airplane instructions, you’re ready to launch it. The moment of truth is here for your flying marvel!
Learning to make a paper airplane means mastering the launch. Here are some tips to make your plane soar:
Testing Your Paper Airplane
- Hold the plane by its center point
- Keep your arm level or slightly up
- Use a smooth throwing motion
Troubleshooting Common Flight Issues
Different problems need different fixes:
- Nosediving: Bend wing flaps up a bit
- Steep climbing: Throw more gently or bend flaps down
- Unstable flight: Check your folds and symmetry
Advanced designs like the Uranus Arc III show the importance of precision. The Anaconda design also shows how wing adjustments and launch can improve flight.
Mastering paper airplane flight is an art. Each throw helps you get better!
Advanced Paper Airplane Designs
Learning basic paper airplane tricks opens up a world of fun designs. The best designs need creativity, precision, and knowing about air flow. Fans can get better by trying out more complex models.
Paper airplane fans can sort designs into different levels. Each level has its own special flying ways:
Elite Flyer Designs
- Dart Airplane: Goes the fastest and farthest
- Glider: Flies for a long time
- Boomerang: Comes back to you
Performance Tier Classification
| Tier | Design Examples | Flight Characteristics |
|---|---|---|
| S Tier | Dart, Glider, Boomerang | Exceptional performance |
| A Tier | Simple Plane, Wedge, Swallow | Consistent reliability |
| B Tier | Water Bomber, Double Wing, Fighter Jet | Experimental designs |
Enhancing Flight Performance
Instructions say to try new things to make designs better:
- Change the wing shape and angle
- Make the body longer or shorter
- Try different nose shapes
- Make sure the weight is evenly spread
Advanced folders can try special designs like the Spy Plane, Star Crusher, and Professional Paper Airplane. These designs are a fun challenge and help learn about air flow.
Fun Facts About Paper Airplanes
Paper airplanes are more than just a simple craft project. They mix science, creativity, and fun for people of all ages. Making your own paper airplane can teach you about aerodynamics and flight.
The Science Behind Flight
When you make paper airplane instructions, you learn important science. Paper airplanes show us how wings make lift, how shape can cut down on drag, and how throwing can create thrust.
Famous Paper Airplane Competitions
People all over the world love to compete with paper airplanes. They show off their engineering skills. The biggest challenge is to make a plane that flies the farthest and is the most precise.
| Competition | Record Details |
|---|---|
| Longest Flight Distance | 69.14 meters by Joe Ayoob |
| Red Bull Paper Wings World Final | Global competition with multiple categories |
| Largest Paper Airplane | Wingspan of 59.74 feet |
Scientists have even used paper airplanes for space research. They launch designs from space to study the atmosphere. These simple objects inspire curiosity and innovation in space engineering.
Paper Airplane Challenges and Games
Make your paper airplane fun by adding challenges. This makes it exciting for everyone. It also helps you get better at making them fly.
Want to make your paper airplane flying better? Here are some fun challenges to try.
Designing Competitive Paper Airplane Contests
Make your contests fun by setting clear goals and rules. Add different challenges to keep it.
- Longest Flight Distance Challenge
- Most Accurate Landing Target
- Precision Obstacle Course Navigation
- Team Folding and Throwing Relay
Creative Flight Challenge Strategies
Try new ways to challenge your flying skills. These challenges can teach you cool things about flying!
| Challenge Type | Scoring Method | Skill Tested |
|---|---|---|
| Distance Flight | Measured in feet | Aerodynamic Design |
| Accuracy Landing | Points for target proximity | Throwing Technique |
| Obstacle Course | Successful navigation points | Plane Maneuverability |
Paper airplane contests are a fun way to learn. They mix science, creativity, and fun competition.
Conclusion and Next Steps
Learning to make a paper airplane is fun. It turns a simple sheet of paper into something amazing. Every time you fold and throw, you learn more about flying.
Instructions for making paper airplanes open doors to creativity and science. Don’t worry if your first tries don’t fly well. Each try is a chance to get better and learn.
Practice Makes Perfect
Getting good at making paper airplanes takes time and practice. Try different wings and throwing styles. See how small changes affect how it flies.
Sharing Your Creations with Others
Share your paper airplane skills with others. Talk to fans online, join local contests, and inspire people. By sharing, you join a worldwide community that loves flying with paper.


