Discover how to make slime with this easy DIY recipe using simple household ingredients. Learn tips and tricks for creating perfect, stretchy slime that kids will love.
How to Make Slime
Ever wondered how a simple homemade slime recipe can turn an ordinary afternoon into a fun adventure? Making your own slime is easier than you think. This guide will show you how to make a stretchy, squishy slime that everyone loves.
This easy slime making guide will tell you why 97% of slime projects use Elmer’s glue and borax. With a few things you have at home and a little time, you can make amazing slime in minutes.
Key Takeaways
- Slime creation takes less than 5 minutes
- Most home slime projects use Elmer’s glue
- Slime is for play, not consumption
- Multiple variations can be created with simple ingredients
- Proper storage ensures long-lasting slime
What is Slime and Why Make It?
Slime is a fun sensory experience for kids and adults. It changes from a liquid to a stretchy, moldable substance. This makes it great for play and learning.
Understanding Slime’s Popularity
Slime is very popular. It’s because it’s fun to make and can be made in many ways. It’s good for kids and adults alike.
- Quick to create (takes less than 20 minutes)
- Affordable DIY craft
- Customizable with different slime ingredients list
- Engaging for multiple age groups
Benefits of Homemade Slime
Homemade slime is fun and educational. It lets you be creative in many ways. It’s great for:
- Stress relief
- Sensory exploration
- Scientific learning
- Developing fine motor skills
When making slime, safety is key. Parents should watch kids, wash hands well, and use safe ingredients. Slime turns a simple mix into a fun, interactive toy that sparks creativity.
Essential Ingredients for Slime
Making the perfect slime starts with the right ingredients. This DIY slime tutorial will show you what you need. You’ll learn how to mix simple items into a fun, stretchy slime. Let’s look at the slime ingredients list for making amazing slime at home.
Common Slime Ingredients
Every great slime recipe needs a few key things:
- PVA Glue: Elmer’s white or clear glue works best for slime making
- Slime activators: Borax powder, contact lens solution, or liquid starch
- Water to help mix ingredients
- Food coloring for vibrant colors
Ingredient Comparison for Slime Making
| Ingredient Type | Recommended Brands | Purpose |
|---|---|---|
| Glue | Elmer’s White/Clear Glue | Base of slime mixture |
| Activator | Target Saline Solution | Helps slime form and become stretchy |
| Optional Add-in | Shaving Cream | Creates fluffy texture |
Optional Add-ins for Fun Variations
Make your DIY slime tutorial more exciting with these mix-ins:
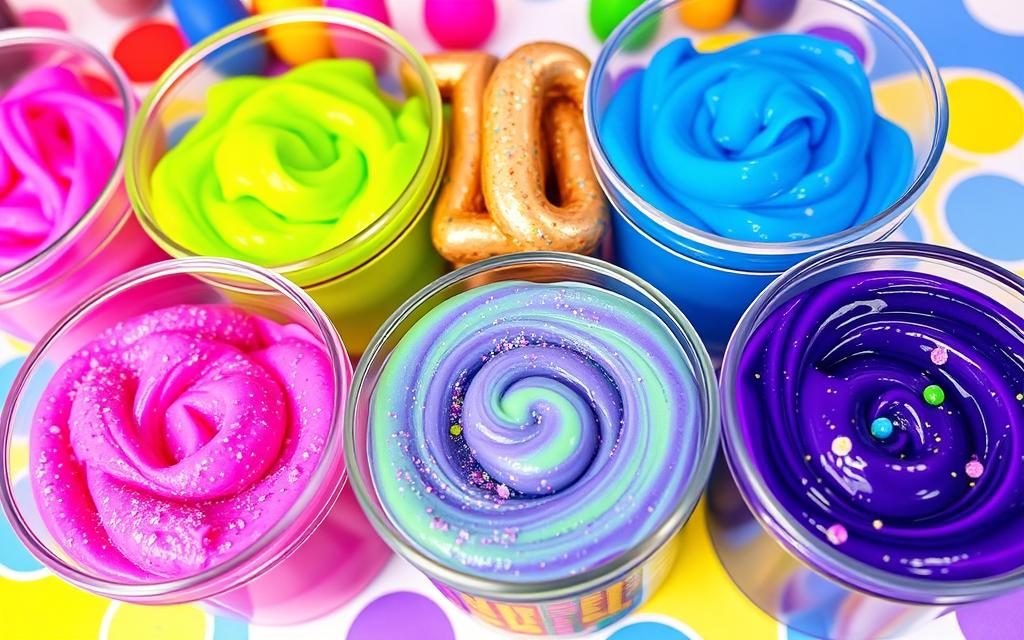
- Glitter for sparkle
- Foam beads for texture
- Scented oils for unique sensory experiences
- Baking soda to adjust consistency
Remember, the secret to great slime is trying new ingredients. Always watch kids when making slime. Have fun trying different textures and colors!
Basic Slime Recipe to Get Started
Making your first slime is fun and easy. This guide will show you how to make slime in simple steps. You can do it even if you’re new to DIY crafting.
- 4 oz white school glue
- 1/2 teaspoon baking soda
- 1½ tablespoons contact lens solution
- Food coloring (optional)
Simple Slime Creation Method
Here’s how to make your own slime:
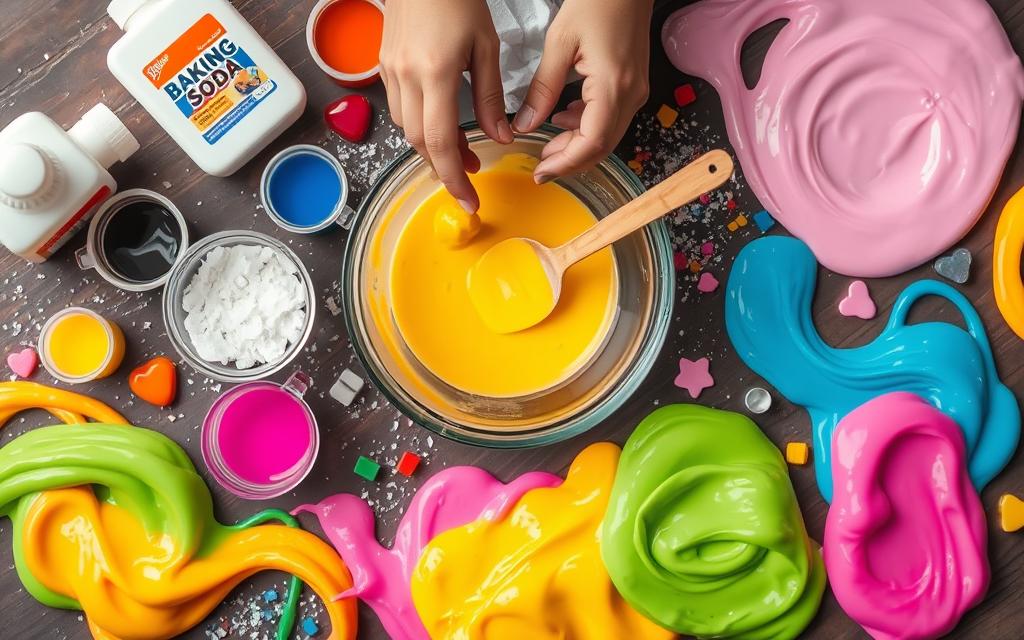
- Pour the entire 4 oz bottle of white glue into a mixing bowl
- Add a few drops of food coloring for vibrant results
- Sprinkle in 1/2 teaspoon of baking soda
- Gradually add contact lens solution, stirring continuously
- Knead the mixture until it reaches the desired consistency
Key Success Tips
Here are some tips to help you make slime:
- Consistency is key – add contact solution slowly
- Knead thoroughly to prevent sticky patches
- Store in an airtight container to maintain texture
- Experiment with different color combinations
With a little practice, you’ll be a slime-making pro!
Variations of Slime to Try
Trying different slime types can make your DIY slime project fun. Each slime has its own feel and look. It’s great for both kids and grown-ups.

Fluffy Slime: A Soft and Puffy Delight
Fluffy slime is very soft and light. To make it, mix slime ingredients with 2-3 cups of shaving cream. It feels like a cloud when you touch it.
- Add extra shaving cream for more fluffiness
- White glue makes it fluffier
- Try different colors together
Glitter Slime: Sparkling Sensory Fun
Glitter slime adds sparkle to your slime. Just add fine glitter to your slime before adding the activator. You can use:
- Fine craft glitter
- Holographic glitter
- Metallic glitter shards
Neon and Glow-in-the-Dark Slime
Make your slime glow with neon or glow-in-the-dark slime. Use bright colors for neon or special pigments for glow. Pro tip: Blacklight makes it glow even more!
Tools You Will Need
Getting ready for slime making means gathering the right stuff. You need the right tools and equipment for perfect slime. This makes sure your slime turns out just right.
When you start making slime, you’ll need some key items. These make the process fun and easy.
Essential Mixing Bowls and Utensils
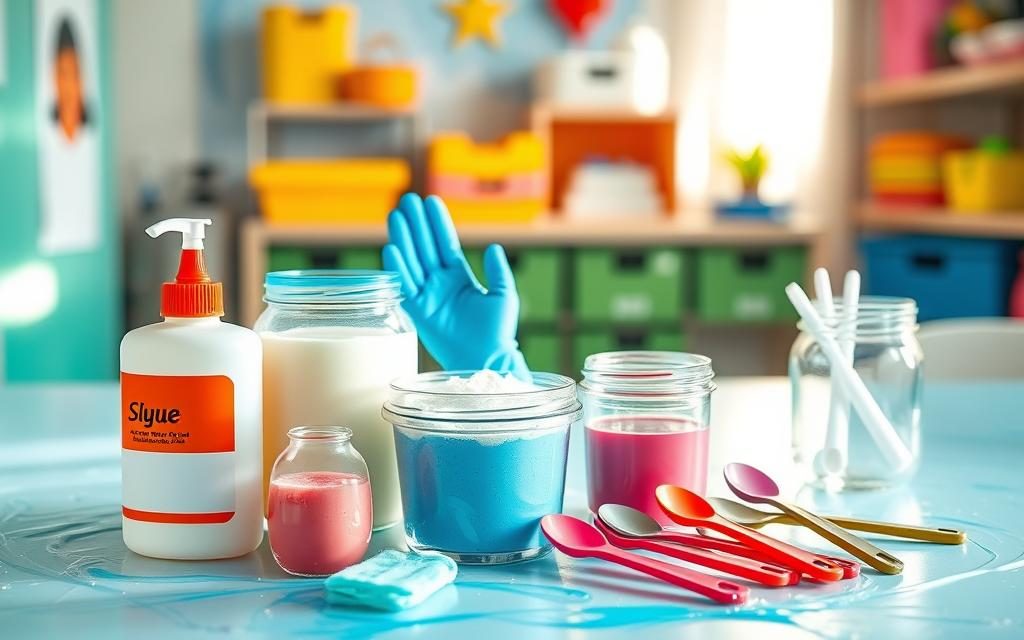
The right tools are key for making slime. Here are some must-haves:
- Plastic mixing bowls (medium-sized)
- Silicone spatulas for smooth mixing
- Disposable plastic spoons
- Non-stick work surface or placemat
Precision Measuring Tools
Getting the right amounts is important for slime. Here are the tools you’ll need:
- Measuring cups with clear markings
- Measuring spoons
- Digital kitchen scale (optional but recommended)
| Tool Category | Recommended Items | Purpose |
|---|---|---|
| Mixing Containers | Plastic/Glass Bowls | Combine ingredients |
| Mixing Utensils | Silicone Spatulas | Blend ingredients thoroughly |
| Measuring | Measuring Cups/Spoons | Ensure precise ingredient proportions |
Pro tip: Use special tools for slime to avoid mixing it with food.
The Science Behind Slime
Slime making tips show us a world of science. It turns simple things into something amazing. The magic of slime comes from its special structure and how its parts work together.
Slime is a special liquid that’s not quite a liquid or solid. Making slime is a complex process. It turns simple things into something truly special.
Understanding Polymer Science
Slime starts with polyvinyl acetate (PVA), found in white glue. These long chains are the base of slime’s special qualities:
- Polymers are long chains that can move and connect
- PVA is the main part of slime
- Borax makes the chains link together
How Ingredients Interact
The mix of glue and borax shows cool science. When borax meets PVA, it makes a special network. This network is what makes slime so unique.
| Ingredient | Scientific Role | Effect on Slime |
|---|---|---|
| PVA Glue | Polymer Source | Provides molecular chains |
| Borax | Chemical Activator | Creates cross-linking |
| Water | Solvent | Helps molecules work together |
Knowing these science facts lets slime makers try new things. They can mix different parts to make slime in their own special way.
Common Mistakes to Avoid
Slime making can be tricky, even for beginners. Knowing common mistakes helps make perfect slime every time. These tips will guide you through common slime making challenges.
Making the perfect slime needs precision and attention to detail. Let’s look at the most common mistakes that can stop your slime-making journey.
Mixing Mishaps: The Balance of Ingredients
Getting the right slime consistency is key. Slime makers often face two main mixing issues:
- Overmixing: Can make slime weak and runny
- Undermixing: Can make slime lumpy or uneven
Ingredient Selection Challenges
Choosing the wrong ingredients can ruin your slime. Here are important tips for your easy slime making guide:
- Use only white school glue for best results
- Make sure your contact lens solution has boric acid
- Measure activators carefully
Pro tip for slime making tips: Start with small amounts and add more as needed. This helps control slime consistency and avoid mistakes.
Preventing Common Slime Failures
| Problem | Solution |
|---|---|
| Too Runny | Add more activator gradually |
| Too Sticky | Add more contact lens solution |
| Hard Texture | Add a little lotion or water |
Remember, practice makes perfect in slime making. Each batch teaches you something new about creating the ultimate sensory play experience.
Storage Tips for Your Slime
Making the perfect slime is just the start. Knowing how to store it is key to keeping it fresh. The right storage can make your slime last longer.

Many people forget about slime storage. The right way to store it keeps it stretchy and fun.
Best Practices for Keeping Slime Fresh
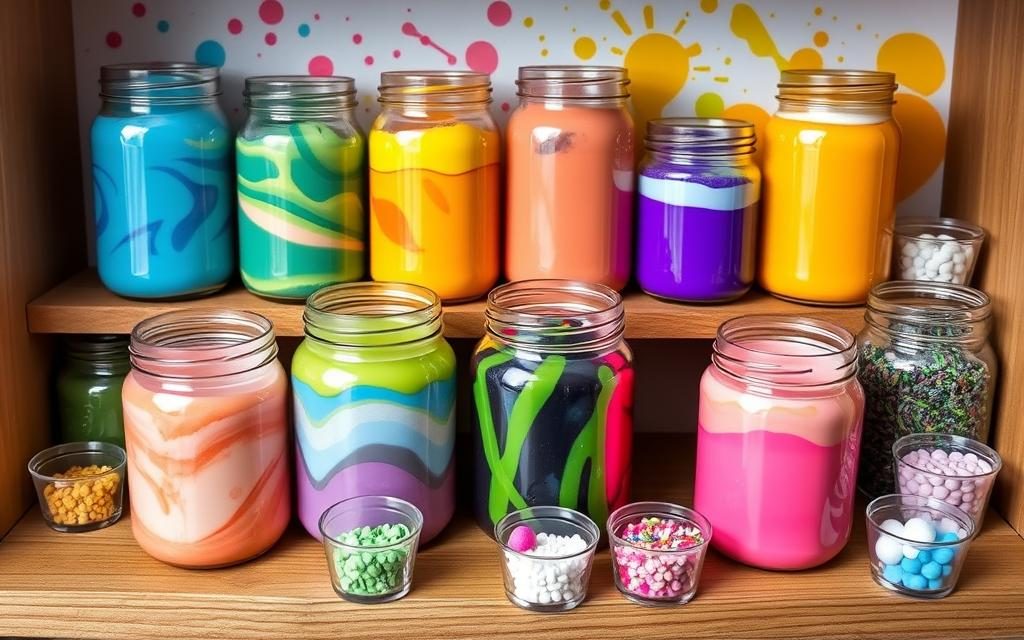
- Always store slime in an airtight container to prevent moisture loss
- Keep slime away from direct sunlight and heat sources
- Store at room temperature for optimal consistency
- Clean hands before handling to prevent dirt and bacteria
- Separate different colored slimes to avoid color mixing
How to Revive Dry Slime
Dry slime doesn’t mean it’s time to say goodbye. You can make it new again with a few tricks.
- Add a few drops of warm water
- Knead the slime gently
- Incorporate a small amount of unscented lotion
- Use baby oil for clear or jelly slimes
A homemade slime recipe can last about a week if stored right. Look out for signs like bad smell, too much stickiness, or mold. Clean hands and proper storage are essential for enjoying your slime.
Creative Ways to Use Slime
Slime has grown from a simple DIY project into a fun sensory experience. It’s loved by kids and adults alike. A DIY slime tutorial opens up a world of creative possibilities. It’s a fun activity for families and teachers.
Exploring different slime types can lead to many new uses. Let’s look at some exciting ways to use slime:
Sensory Play for Children
Slime is great for kids’ development. It offers many benefits:
- Helps improve fine motor skills
- Provides fun touch stimulation
- Helps with stress and emotions
- Makes learning fun
Slime as a Decorative Item
Creative people have found cool ways to use slime:
| Decorative Slime Technique | Description |
|---|---|
| Clear Container Display | Show colorful slime in clear jars |
| Craft Project Material | Use as a texture in art |
| Stress Relief Desk Accessory | Use as a touch tool for calm |
Whether you’re a parent or someone looking for fun, slime has endless possibilities. It’s perfect for exploring and having fun.
Safety Precautions When Making Slime
Slime-making is fun for kids, but safety comes first. Knowing how to make slime safely makes it fun for everyone.

When making slime, it’s key to focus on safe ingredients and watch closely. You need to be careful and handle things right.
Ingredient Safety Considerations
- Always check ingredient labels carefully
- Use contact lens solution as a safer alternative to borax
- Avoid substituting ingredients without understanding their chemical reactions
- Wear disposable gloves when handling slime ingredients
Supervision Guidelines for Children
Adults should watch kids when they make slime. This helps avoid accidents and misuse of ingredients.
| Safety Measure | Recommendation |
|---|---|
| Hand Washing | Wash hands before and after slime activities |
| Ingredient Storage | Keep ingredients locked away from young children |
| Allergic Reactions | Consult a doctor if skin irritation occurs |
Pro tip: For kids with sensitive skin, try slime recipes that are gentler. Always test a small area first. Stop if there’s any bad reaction.
Troubleshooting Your Slime
Making perfect slime can be hard, but you’ll get better fast. Every slime maker faces problems. But knowing how to fix texture issues is key.
When you’re making slime, you might run into problems. Here are some tips to help you make slime just right every time.
Fixing Common Texture Issues
- Runny Slime: Add small amounts of activator or more glue to thicken
- Too Sticky Slime: Knead in more activator solution slowly
- Dry or Crumbly Slime: Add a few drops of water or lotion
How to Adjust Consistency
Changing slime consistency is easy with a few tricks:
- For thick slime: Add 1/4 tsp of baking soda (white glue) or cornstarch
- For stretchy slime: Knead well and let rest for 5 minutes
- For firmer texture: Refrigerate for 10-15 minutes
Pro tip: Always add ingredients slowly and mix well. Being patient is important for perfect slime.
Remember, different activators need slight recipe changes. Try new things and have fun with your slime!
Fun Slime Activities and Games
Explore the fun world of slime with cool DIY slime tutorials. Kids can make slime into tools for learning and fun. There are many slime types to try, each one a new adventure.
Teachers and parents can make slime games that are both fun and educational. Make alphabet slime for little ones to learn letters. Or, try slime that changes color with heat to teach about temperature.
Glow-in-the-dark slime is great for learning about physics. It’s a fun way to learn about motion and gravity.
Slime Challenges with Friends
Set up slime contests to boost creativity and hand-eye coordination. Kids can search for hidden items in different slime textures. Or, they can compete to make the coolest slime sculpture.
Slime projects about Earth can teach kids about geology. It’s a fun way to learn about our planet.
Creative Slime Projects for Kids
Make slime more than just a toy by adding learning. Use erupting slime to show chemical reactions. Or, make sparkly frozen slime to learn about cold places.
Try light table slime to teach about light and shadows. These projects turn slime into a powerful tool for learning.
FAQs
How Do You Make Homemade Slime?
Making slime at home is super fun and easy! You only need a few ingredients to create a stretchy, gooey masterpiece. Here’s a basic recipe:
Ingredients:
- 1 cup of school glue (white or clear)
- 1 tablespoon of baking soda
- 2 tablespoons of contact lens solution
Instructions:
- Pour the glue into a mixing bowl.
- Stir in the baking soda until it’s fully dissolved.
- Add the contact lens solution a little at a time. Mix until it starts clumping together.
- Knead the slime with your hands until it’s stretchy.
It’s like magic, right? Once done, store it in an airtight container to keep it fresh.
How To Make 2 Ingredient Slime?
Yep, you can make slime with just two ingredients! No excuses now.
Ingredients:
- 1 cup of cornstarch
- 1/2 cup of water
Steps:
- Mix the cornstarch and water in a bowl.
- Stir well until it becomes a slimy consistency.
It’s more like oobleck, but it’s super fun to play with.
How Do You Make Slime With 3 Ingredients?
Three ingredients are all you need for easy slime! You’ll be amazed at how simple it is.
Ingredients:
- 1 cup of glue
- 1 tablespoon of baking soda
- 2 tablespoons of contact lens solution
Steps to Make It:
- Mix glue and baking soda in a bowl.
- Add the contact lens solution slowly. Stir well until it starts to form slime.
- Knead the mixture until it’s no longer sticky.
That’s it! You’ve got yourself a fun, stretchy slime to play with.
How Do You Make 4 Ingredient Slime?
Want to level up your slime game? Add a fourth ingredient for some extra fun!
Ingredients:
- 1 cup of glue
- 1 tablespoon of baking soda
- 2 tablespoons of contact lens solution
- A few drops of food coloring (optional)
Instructions:
- Combine glue and baking soda in a bowl.
- Stir in the food coloring to give your slime some personality.
- Slowly add the contact lens solution while mixing.
- Knead the slime until it feels just right.
Your colorful, stretchy slime is ready to play with!
How To Make Slime In 5 Minutes Without Glue?
No glue? No problem! You can make slime in no time.
Ingredients:
- 1 cup of cornstarch
- 1/2 cup of shampoo or body wash
How To Make It:
- Pour the shampoo into a bowl.
- Add cornstarch little by little, mixing as you go.
- Knead the mixture until it feels slimy.
That’s it! Quick, fun, and no glue required.
How To Make Fluffy Slime For Beginners?
Fluffy slime feels like playing with a cloud. It’s perfect for beginners!
Ingredients:
- 1 cup of glue
- 1 tablespoon of baking soda
- 2 tablespoons of contact lens solution
- 1 cup of shaving cream
Steps:
- Mix glue and shaving cream in a bowl.
- Add baking soda and stir well.
- Slowly add contact lens solution while stirring.
- Knead the slime until it’s light and fluffy.
You’ll feel like you’re holding a piece of a cloud!
Try these fun slime recipes, and let the gooey fun begin! 😊


